使用 Zilliz Cloud 快速体验 Milvus

在学习 Milvus 向量数据库时,除了本地 Milvus Lite、单机版 Milvus Standalone 或 Milvus on K8s 之外,还可以选择 Zilliz Cloud —— 一种无需部署服务器、零成本上手的托管方案。下面将演示如何申请 Zilliz Cloud 中国区免费套餐并运行官方示例代码。

注册并创建免费集群

  1. 打开官网

我们本次实验使用的是国内站点,部署在阿里云,目前可以免费使用。

a508309b90c710ffd1d9e998626c47f9

  1. 选择 手机号码邮箱 登录/注册。

    image-20250626212403361

  2. 进入控制台首页后,点击 Create Cluster 按钮。
    起始页面

  3. 在弹窗中选择 Free Tier(免费套餐),数据中心默认为 阿里云 · 杭州
    选择免费集群

  4. 等待几分钟,集群创建完成后会显示 Endpoint URI、API Token、Cluster ID 等信息,请妥善保存。
    集群信息

  5. 运行中

395f581c7dbbeb8b4940afa0bcab025a


二、连接

安装 milvus-cli:

1
2
pip install uv
uv pip install milvus-cli

终端执行 milvus_cli,进入交互式 CLI

1
2
3
4
5
6
7
8
9
10
11
12
13
14
15
16
17
18
19
20
21
22
23
24
25
26
27
28
milvus_cli


__ __ _ _ ____ _ ___
| \/ (_) |_ ___ _ ___ / ___| | |_ _|
| |\/| | | \ \ / / | | / __| | | | | | |
| | | | | |\ V /| |_| \__ \ | |___| |___ | |
|_| |_|_|_| \_/ \__,_|___/ \____|_____|___|

Milvus cli version: 1.0.2
Pymilvus version: 2.5.3

Learn more: https://github.com/zilliztech/milvus_cli.


milvus_cli > connect -uri https://in03-d7b5690fee7bcbf.serverless.ali-cn-hangzhou.cloud.zilliz.com.cn -t 88b738ee492b2ad88d69c166ee587825d546b049dab3a5d8767733a636efec52a62e96b283ab90c24146d5a311696dacd9499fc1
Connect Milvus successfully.
+---------+---------+
| Address | |
| Alias | default |
+---------+---------+
milvus_cli > list databases
+--------------------+
| db_name |
+--------------------+
| db_d7b5690fee7bcbf |
+--------------------+

创建虚拟环境(缺少 3.12 时 uv 会自动下载)

1
2
3
4
5
6
uv venv milvus-py --python 3.12

# 激活环境
source milvus-py/bin/activate # macOS / Linux
# .\milvus-py\Scripts\activate # Windows PowerShell

如果你使用的是 conda 也可以:

1
2
conda create -n milvus-py python==3.12 -y
conda activate milvus-py
  1. 克隆仓库
1
git clone https://github.com/zilliztech/cloud-vectordb-examples.git
  1. 安装 PyMilvus
1
pip3 install pymilvus==2.5.3
  1. 进入 Python 示例目录
1
2
3
cd cloud-vectordb-examples/python


需要注意的是,在开源版本的 Milvus 中,端口号是 9530 / 9091 ,而在 Zilliz cloud 上,端口上是 443.


1
2
3
4
5
6
7
8
9
10
11
12
13
14
15
16
17
18
19
20
21
22
23
24
25
26
27
28
29
30
31
32
33
34
35
36
37
38
39
40
41
42
43
44
45
46
47
48
49
50
51
52
53
54
55
56
57
58
59
60
61
62
63
64
65
66
67
68
69
70
71
72
73
74
75
76
77
78
79
80
81
82
83
import configparser
import time
import random

from pymilvus import MilvusClient
from pymilvus import DataType

cfp = configparser.RawConfigParser()
cfp.read('config.ini')
milvus_uri = cfp.get('example', 'uri')
token = cfp.get('example', 'token')

milvus_client = MilvusClient(uri=milvus_uri, token=token)
print(f"Connected to DB: {milvus_uri} successfully")


# Check if the collection exists
collection_name = "book"
check_collection = milvus_client.has_collection(collection_name)

if check_collection:
milvus_client.drop_collection(collection_name)
print(f"Dropped the existing collection {collection_name} successfully")

dim = 64

print("Start to create the collection schema")
schema = milvus_client.create_schema()
schema.add_field("book_id", DataType.INT64, is_primary=True, description="customized primary id")
schema.add_field("word_count", DataType.INT64, description="word count")
schema.add_field("book_intro", DataType.FLOAT_VECTOR, dim=dim, description="book introduction")
print("Start to prepare index parameters with default AUTOINDEX")
index_params = milvus_client.prepare_index_params()
index_params.add_index("book_intro", metric_type="L2")

print(f"Start to create example collection: {collection_name}")
# create collection with the above schema and index parameters, and then load automatically
milvus_client.create_collection(collection_name, schema=schema, index_params=index_params)
collection_property = milvus_client.describe_collection(collection_name)
print("Collection details: %s" % collection_property)

# insert data with customized ids
nb = 1000
insert_rounds = 2
start = 0 # first primary key id
total_rt = 0 # total response time for inert

print(f"Start to insert {nb*insert_rounds} entities into example collection: {collection_name}")
for i in range(insert_rounds):
vector = [random.random() for _ in range(dim)]
rows = [{"book_id": i, "word_count": random.randint(1, 100), "book_intro": vector} for i in range(start, start+nb)]
t0 = time.time()
milvus_client.insert(collection_name, rows)
ins_rt = time.time() - t0
start += nb
total_rt += ins_rt
print(f"Insert completed in {round(total_rt,4)} seconds")

print("Start to flush")
start_flush = time.time()
milvus_client.flush(collection_name)
end_flush = time.time()
print(f"Flush completed in {round(end_flush - start_flush, 4)} seconds")

# search
nq = 3
search_params = {"metric_type": "L2", "params": {"level": 2}}
limit = 2

for i in range(5):
search_vectors = [[random.random() for _ in range(dim)] for _ in range(nq)]
t0 = time.time()
results = milvus_client.search(collection_name,
data=search_vectors,
limit=limit,
search_params=search_params,
anns_field="book_intro")
t1 = time.time()
assert len(results) == nq
assert len(results[0]) == limit
print(f"Search {i} results: {results}")
print(f"Search {i} latency: {round(t1-t0, 4)} seconds")

配置连接信息

config.ini 中填入你的集群信息(务必保持格式),⚠️ 切勿把 API Key 提交到公开仓库。

1
2
uri = https://<your-endpoint>
token = <your-api-key>

运行示例脚本

1
python3 hello_zilliz_vectordb.py

运行后可见类似输出:

1
2
3
4
5
6
7
8
9
10
11
12
13
14
15
16
17
18
19
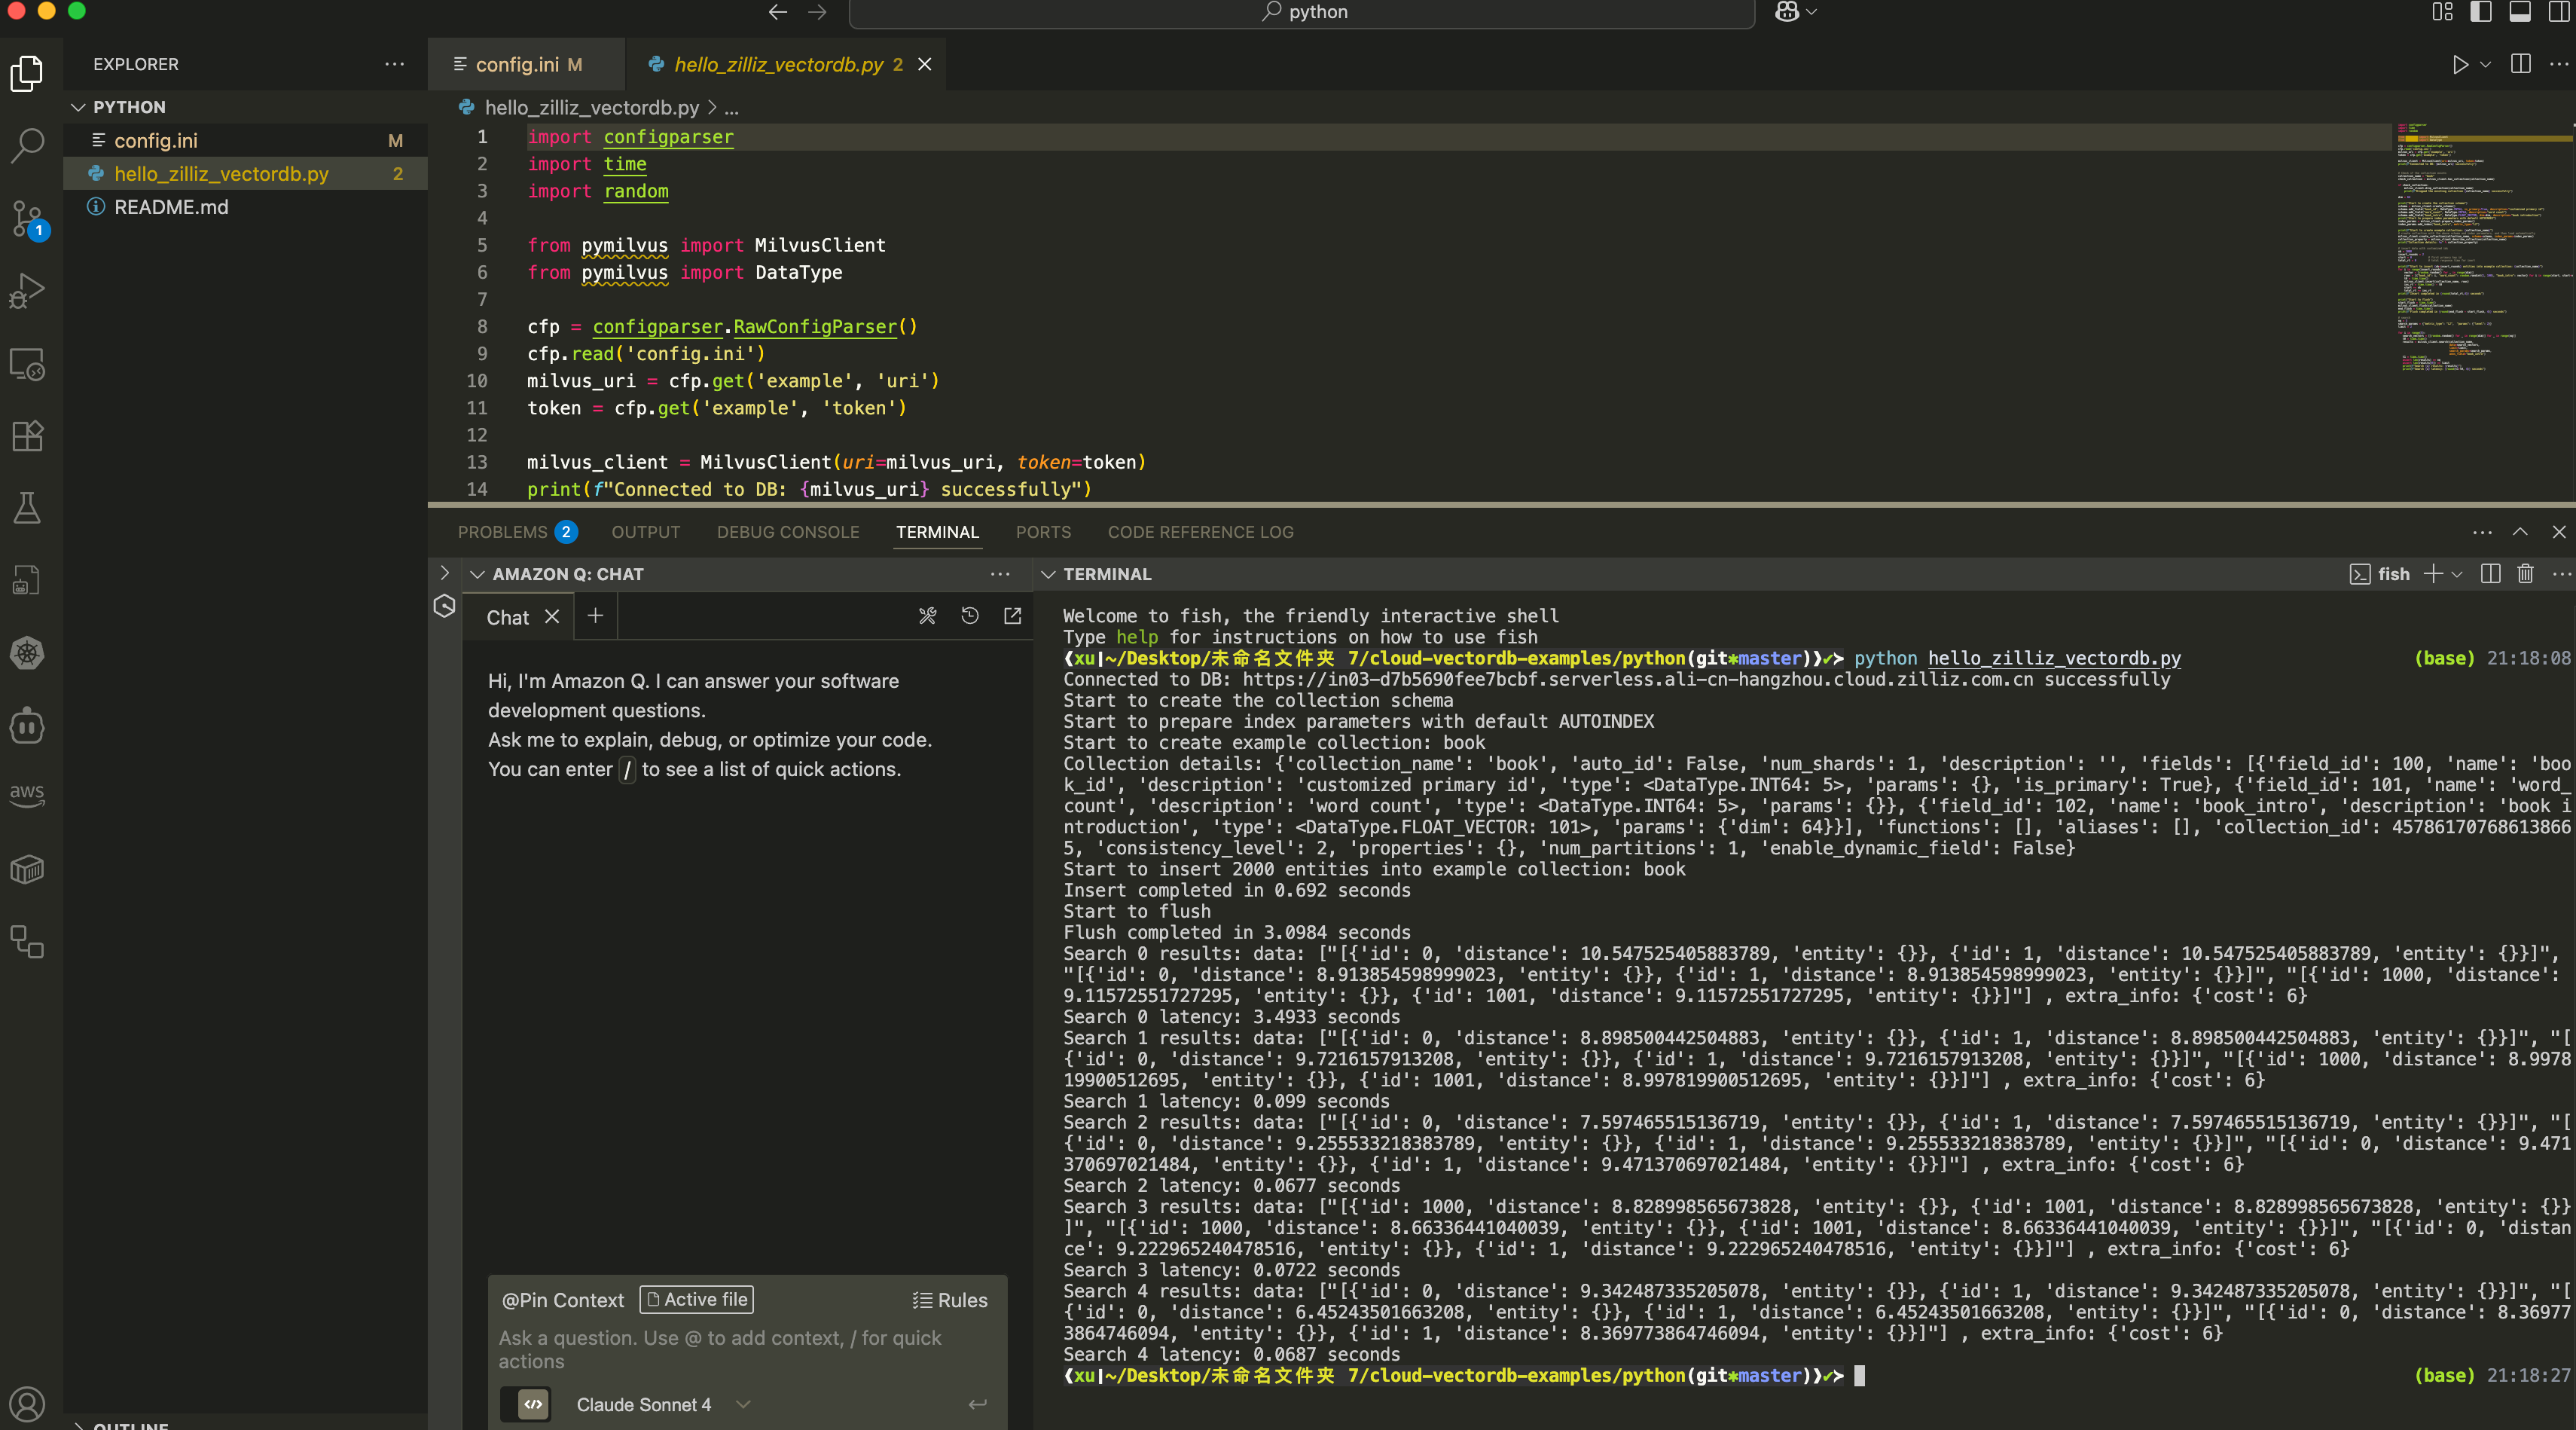
Connected to DB: https://in03-d7b5690fee7bcbf.serverless.ali-cn-hangzhou.cloud.zilliz.com.cn successfully
Start to create the collection schema
Start to prepare index parameters with default AUTOINDEX
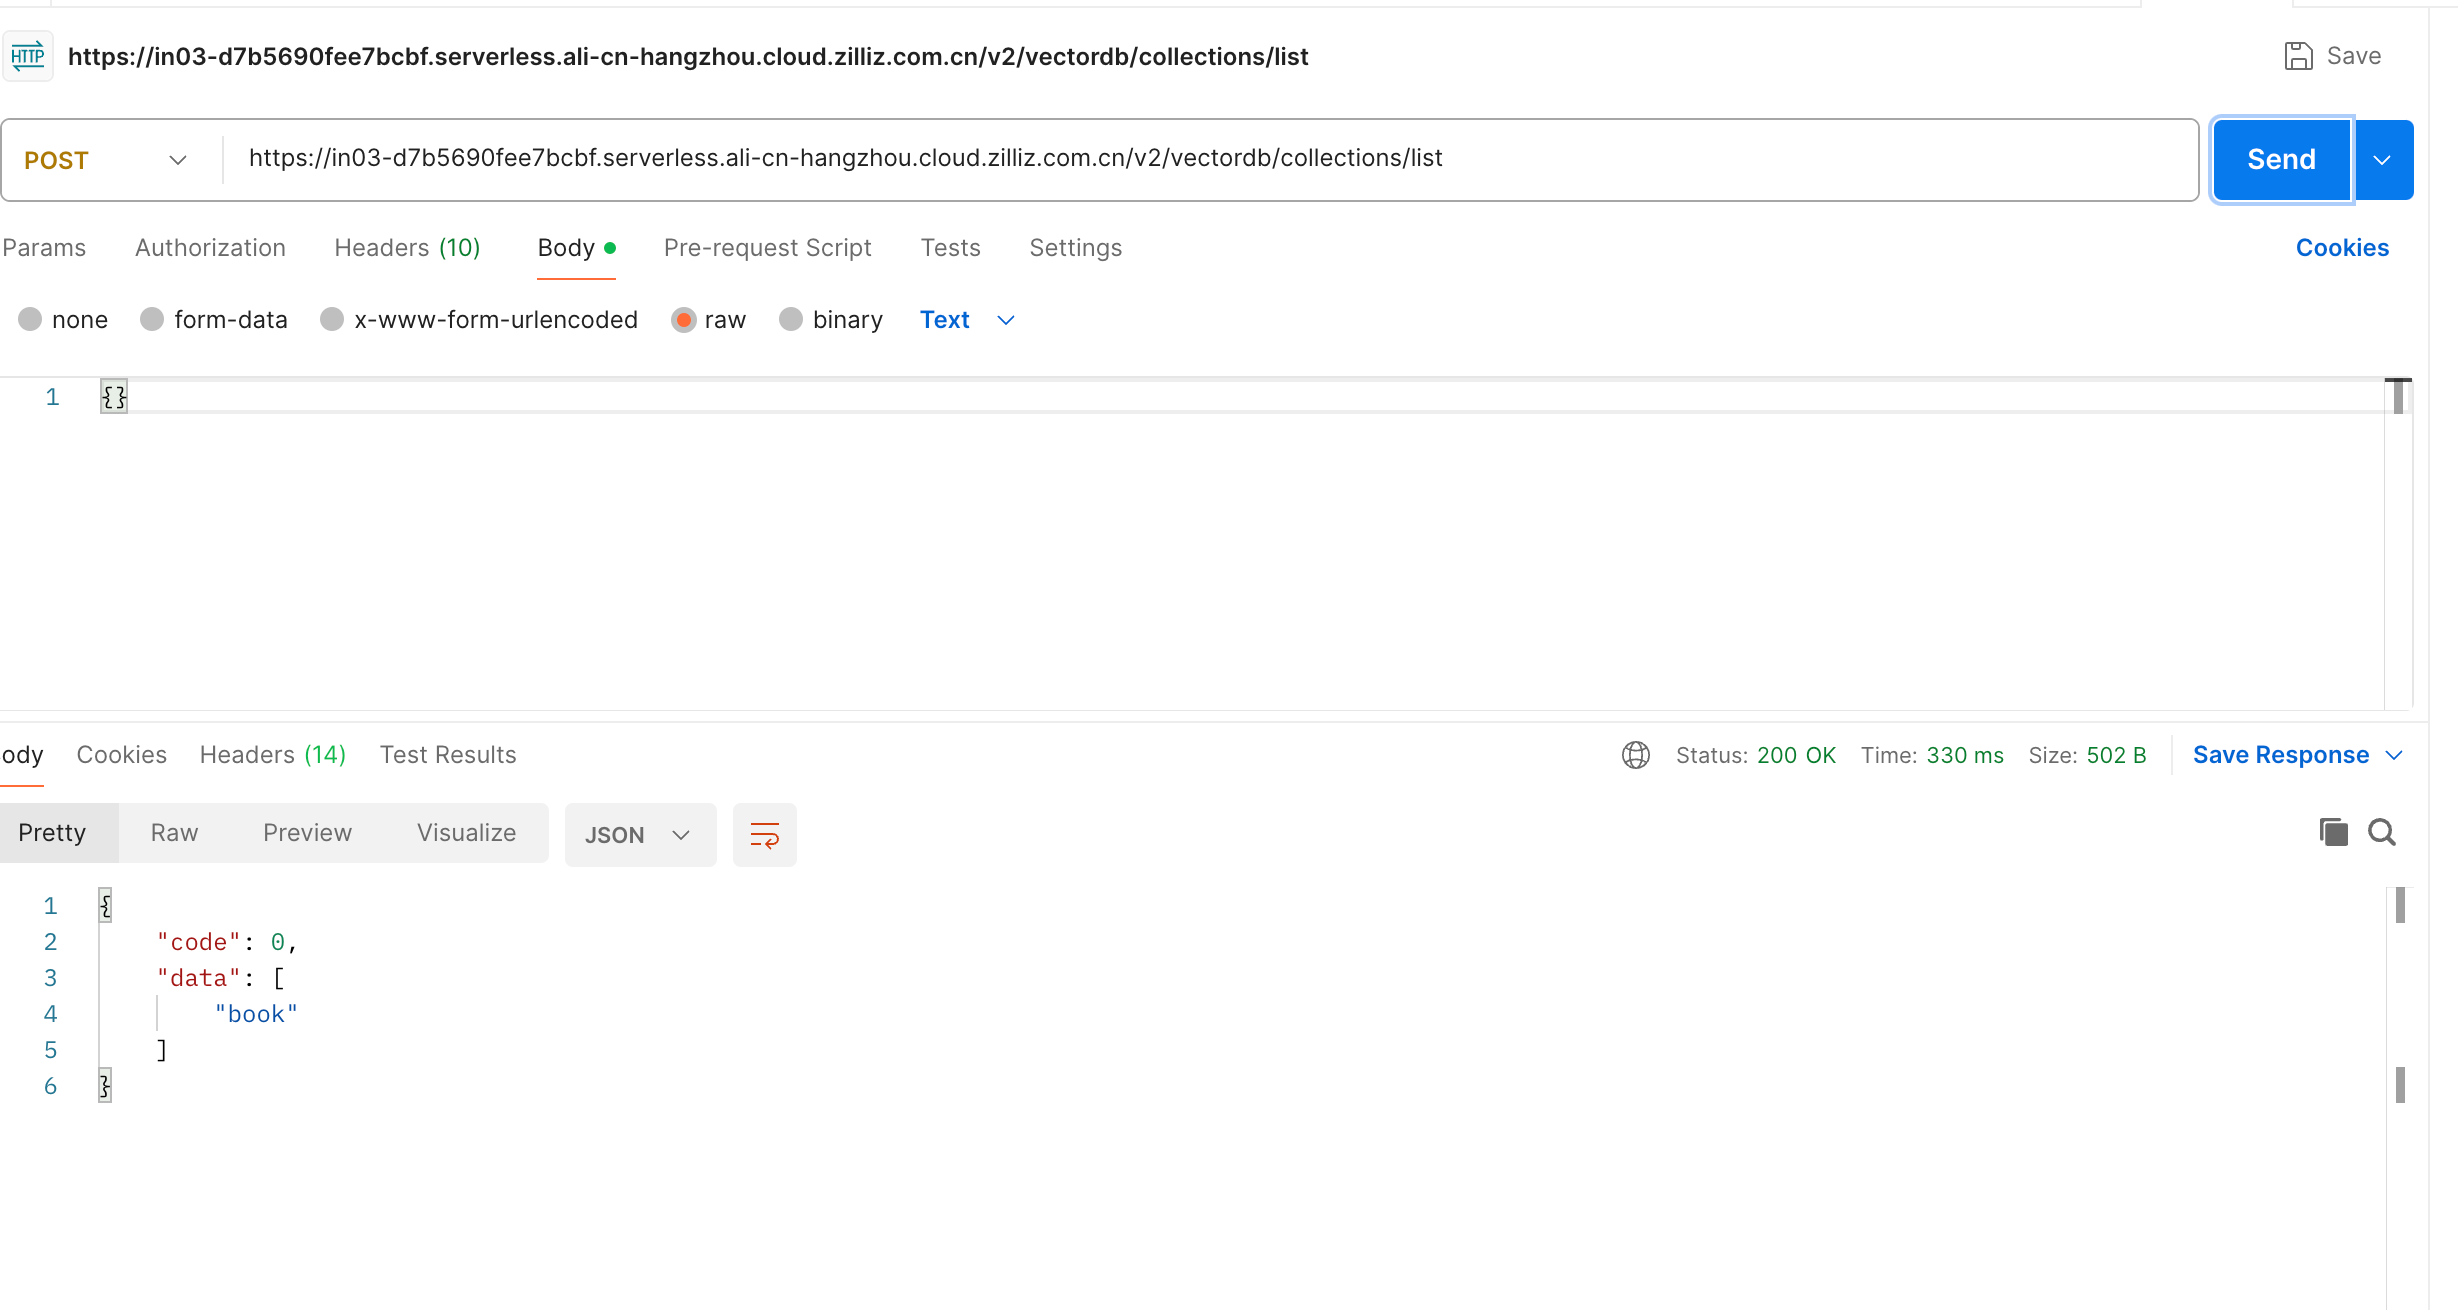
Start to create example collection: book
Collection details: {'collection_name': 'book', 'auto_id': False, 'num_shards': 1, 'description': '', 'fields': [{'field_id': 100, 'name': 'book_id', 'description': 'customized primary id', 'type': <DataType.INT64: 5>, 'params': {}, 'is_primary': True}, {'field_id': 101, 'name': 'word_count', 'description': 'word count', 'type': <DataType.INT64: 5>, 'params': {}}, {'field_id': 102, 'name': 'book_intro', 'description': 'book introduction', 'type': <DataType.FLOAT_VECTOR: 101>, 'params': {'dim': 64}}], 'functions': [], 'aliases': [], 'collection_id': 457861707686138665, 'consistency_level': 2, 'properties': {}, 'num_partitions': 1, 'enable_dynamic_field': False}
Start to insert 2000 entities into example collection: book
Insert completed in 0.692 seconds
Start to flush
Flush completed in 3.0984 seconds
Search 0 results: data: ["[{'id': 0, 'distance': 10.547525405883789, 'entity': {}}, {'id': 1, 'distance': 10.547525405883789, 'entity': {}}]", "[{'id': 0, 'distance': 8.913854598999023, 'entity': {}}, {'id': 1, 'distance': 8.913854598999023, 'entity': {}}]", "[{'id': 1000, 'distance': 9.11572551727295, 'entity': {}}, {'id': 1001, 'distance': 9.11572551727295, 'entity': {}}]"] , extra_info: {'cost': 6}
Search 0 latency: 3.4933 seconds
Search 1 results: data: ["[{'id': 0, 'distance': 8.898500442504883, 'entity': {}}, {'id': 1, 'distance': 8.898500442504883, 'entity': {}}]", "[{'id': 0, 'distance': 9.7216157913208, 'entity': {}}, {'id': 1, 'distance': 9.7216157913208, 'entity': {}}]", "[{'id': 1000, 'distance': 8.997819900512695, 'entity': {}}, {'id': 1001, 'distance': 8.997819900512695, 'entity': {}}]"] , extra_info: {'cost': 6}
Search 1 latency: 0.099 seconds
Search 2 results: data: ["[{'id': 0, 'distance': 7.597465515136719, 'entity': {}}, {'id': 1, 'distance': 7.597465515136719, 'entity': {}}]", "[{'id': 0, 'distance': 9.255533218383789, 'entity': {}}, {'id': 1, 'distance': 9.255533218383789, 'entity': {}}]", "[{'id': 0, 'distance': 9.471370697021484, 'entity': {}}, {'id': 1, 'distance': 9.471370697021484, 'entity': {}}]"] , extra_info: {'cost': 6}
Search 2 latency: 0.0677 seconds
Search 3 results: data: ["[{'id': 1000, 'distance': 8.828998565673828, 'entity': {}}, {'id': 1001, 'distance': 8.828998565673828, 'entity': {}}]", "[{'id': 1000, 'distance': 8.66336441040039, 'entity': {}}, {'id': 1001, 'distance': 8.66336441040039, 'entity': {}}]", "[{'id': 0, 'distance': 9.222965240478516, 'entity': {}}, {'id': 1, 'distance': 9.222965240478516, 'entity': {}}]"] , extra_info: {'cost': 6}
Search 3 latency: 0.0722 seconds
Search 4 results: data: ["[{'id': 0, 'distance': 9.342487335205078, 'entity': {}}, {'id': 1, 'distance': 9.342487335205078, 'entity': {}}]", "[{'id': 0, 'distance': 6.45243501663208, 'entity': {}}, {'id': 1, 'distance': 6.45243501663208, 'entity': {}}]", "[{'id': 0, 'distance': 8.369773864746094, 'entity': {}}, {'id': 1, 'distance': 8.369773864746094, 'entity': {}}]"] , extra_info: {'cost': 6}
Search 4 latency: 0.0687 seconds

如果控制台显示如上日志,即表明已成功连接集群、创建 collection 并完成简单的向量检索。


image-20250626211850476


然后我们就可以通过控制台来查看这个新建的索引和数据了。

image-20250702113618025

除此之外,zilliz 还提供了 restapi ,这样我们就可以通过请求 HTTP 来完成数据检索了。

1
2
3
4
5
curl --request POST \
--url https://in03-d7b5690fee7bcbf.serverless.ali-cn-hangzhou.cloud.zilliz.com.cn/v2/vectordb/collections/list \
--header 'accept: application/json' \
--header 'authorization: Bearer <api-key>' \
--data '{}'

Python 版本的如下,需要我们把 api-key 作为 bear token 传到请求头里。

1
2
3
4
5
6
7
8
9
10
11
12
import requests

url = "https://in03-d7b5690fee7bcbf.serverless.ali-cn-hangzhou.cloud.zilliz.com.cn/v2/vectordb/collections/list"

payload = "{}"
headers = {
'Authorization': 'Bearer <api-key>'
}

response = requests.request("POST", url, headers=headers, data=payload)

print(response.text)

同样我们再 Postman 上也可以进行测试,需要注意的是,即使请求体是空的,那么也需要使用 {} 来占位。

image-20250702112141165

在左侧的 api-playground 中,我们可以看到更多的 API 操作,同时还可以直接在浏览器上发送请求。

image-20250702113040640

通过 Zilliz Cloud,我们可以在几分钟内获得一套托管版 Milvus 服务,免去本地运维与资源成本,非常适合作为学习、原型开发或小型应用的向量数据库后端。祝大家玩得开心!

作者

Xu

发布于

2025-07-03

更新于

2025-07-05

许可协议

评论