用Filebeat OSS 7.10.2将收集日志到Easysearch
Filebeat OSS (Open Source Software) 7.10.2 版本是 Elastic 公司提供的开源版本。移除了一些Elasticsearch商业化的功能插件(但是没移出去干净)
https://www.elastic.co/cn/downloads/past-releases/filebeat-oss-7-10-2。
这主要还是 AWS 和 Elastic 公司之间的矛盾,AWS 托管的 ES 会和 Elastic 抢客户。所以 Elastic 搞了一个不能商业化的协议,影响了这个生态圈,也给开发者造成了很多不方便。
还记得这个非常戏剧性的 Issue: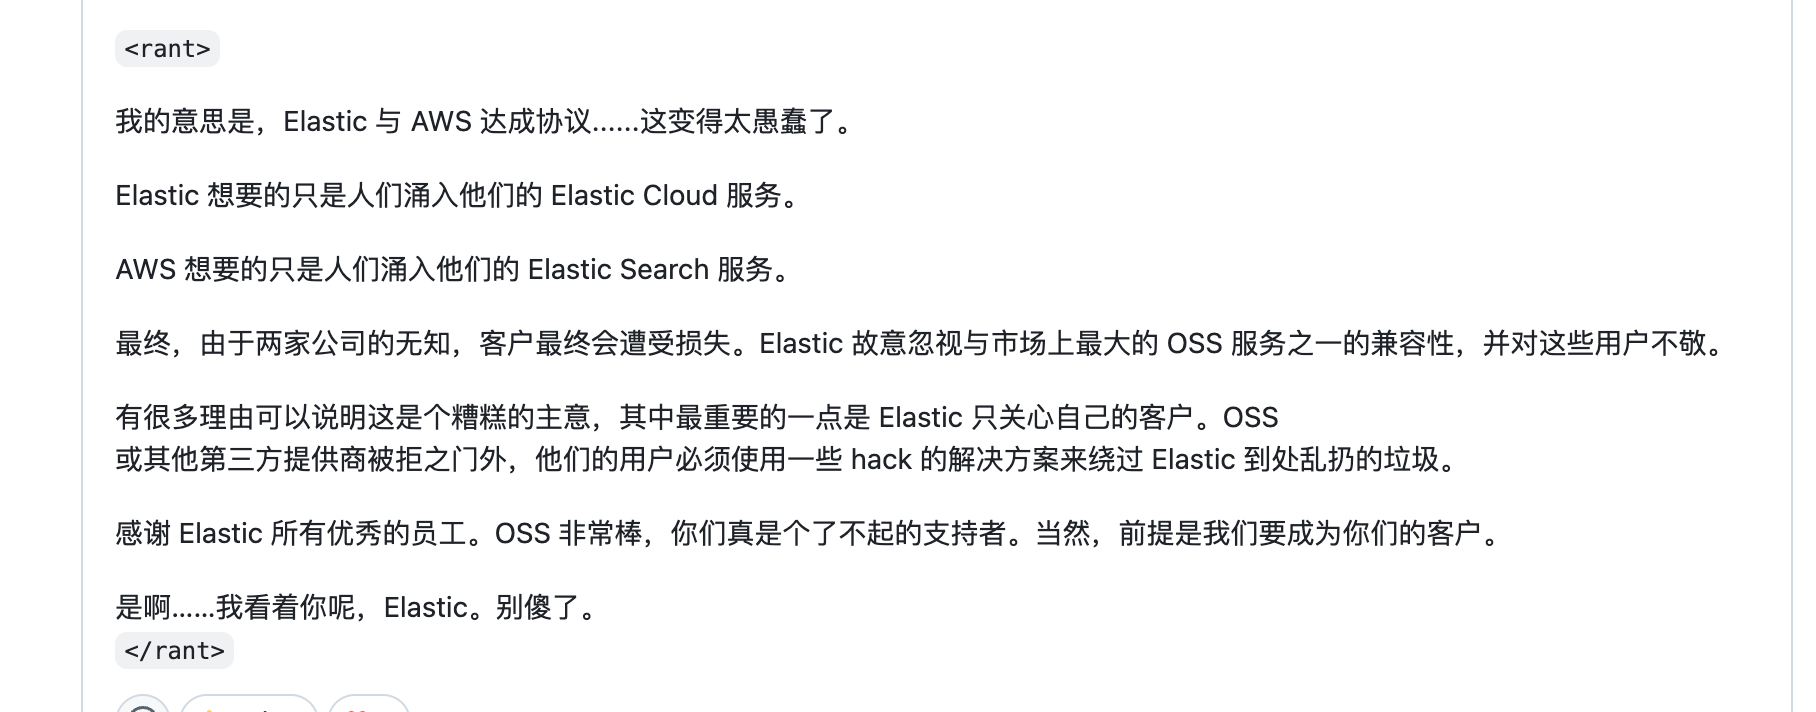
https://github.com/elastic/beats/issues/8086
下面将介绍如何配置该版本 Filebeat 将日志发送到 Easysearch。
以下是完整的filebeat.yml配置示例:
1 | filebeat.inputs: |
setup.template 和 setup.ilm 相关的操作就是和没移除干净的 xpack 有关系,所以得再配置文件加上这些东西。
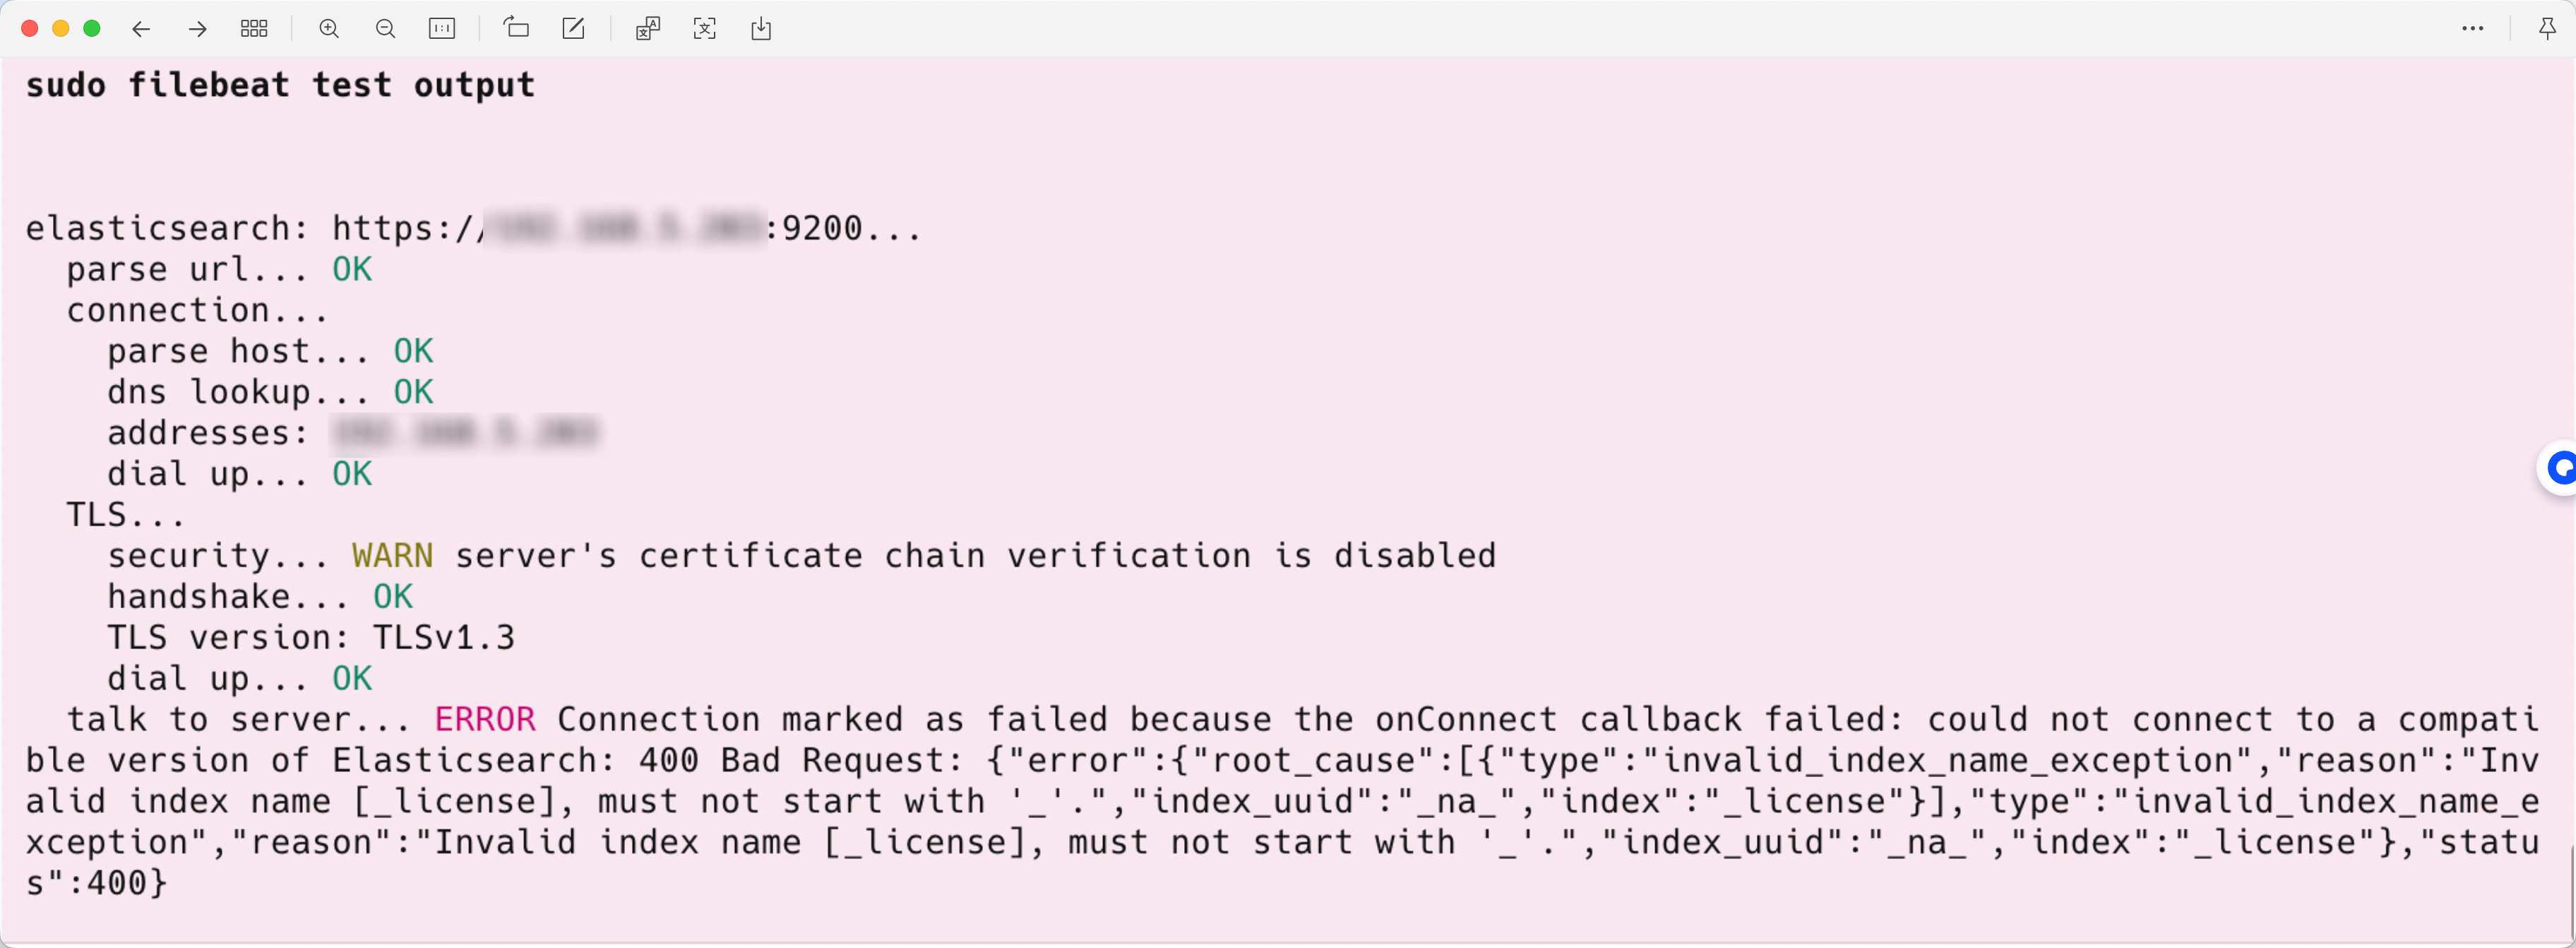
同时也得在 Easysearch 里面开启兼容 ES 的 API,不然会遇到这个报错。
在我的 MBP 上是这样:(config/easysearch.yml)
1 | discovery.type: single-node |
- 启动并测试 Filebeat:
1 | sudo systemctl start filebeat |
- 检查服务状态:
1 | sudo systemctl status filebeat |
- 生成测试日志:
1 | echo "test log $(date)" | sudo tee -a /var/log/messages |
- 在 Easysearch 中查询日志:
使用 Dev Tools 执行以下查询:
1 | GET filebeat-*/_search |
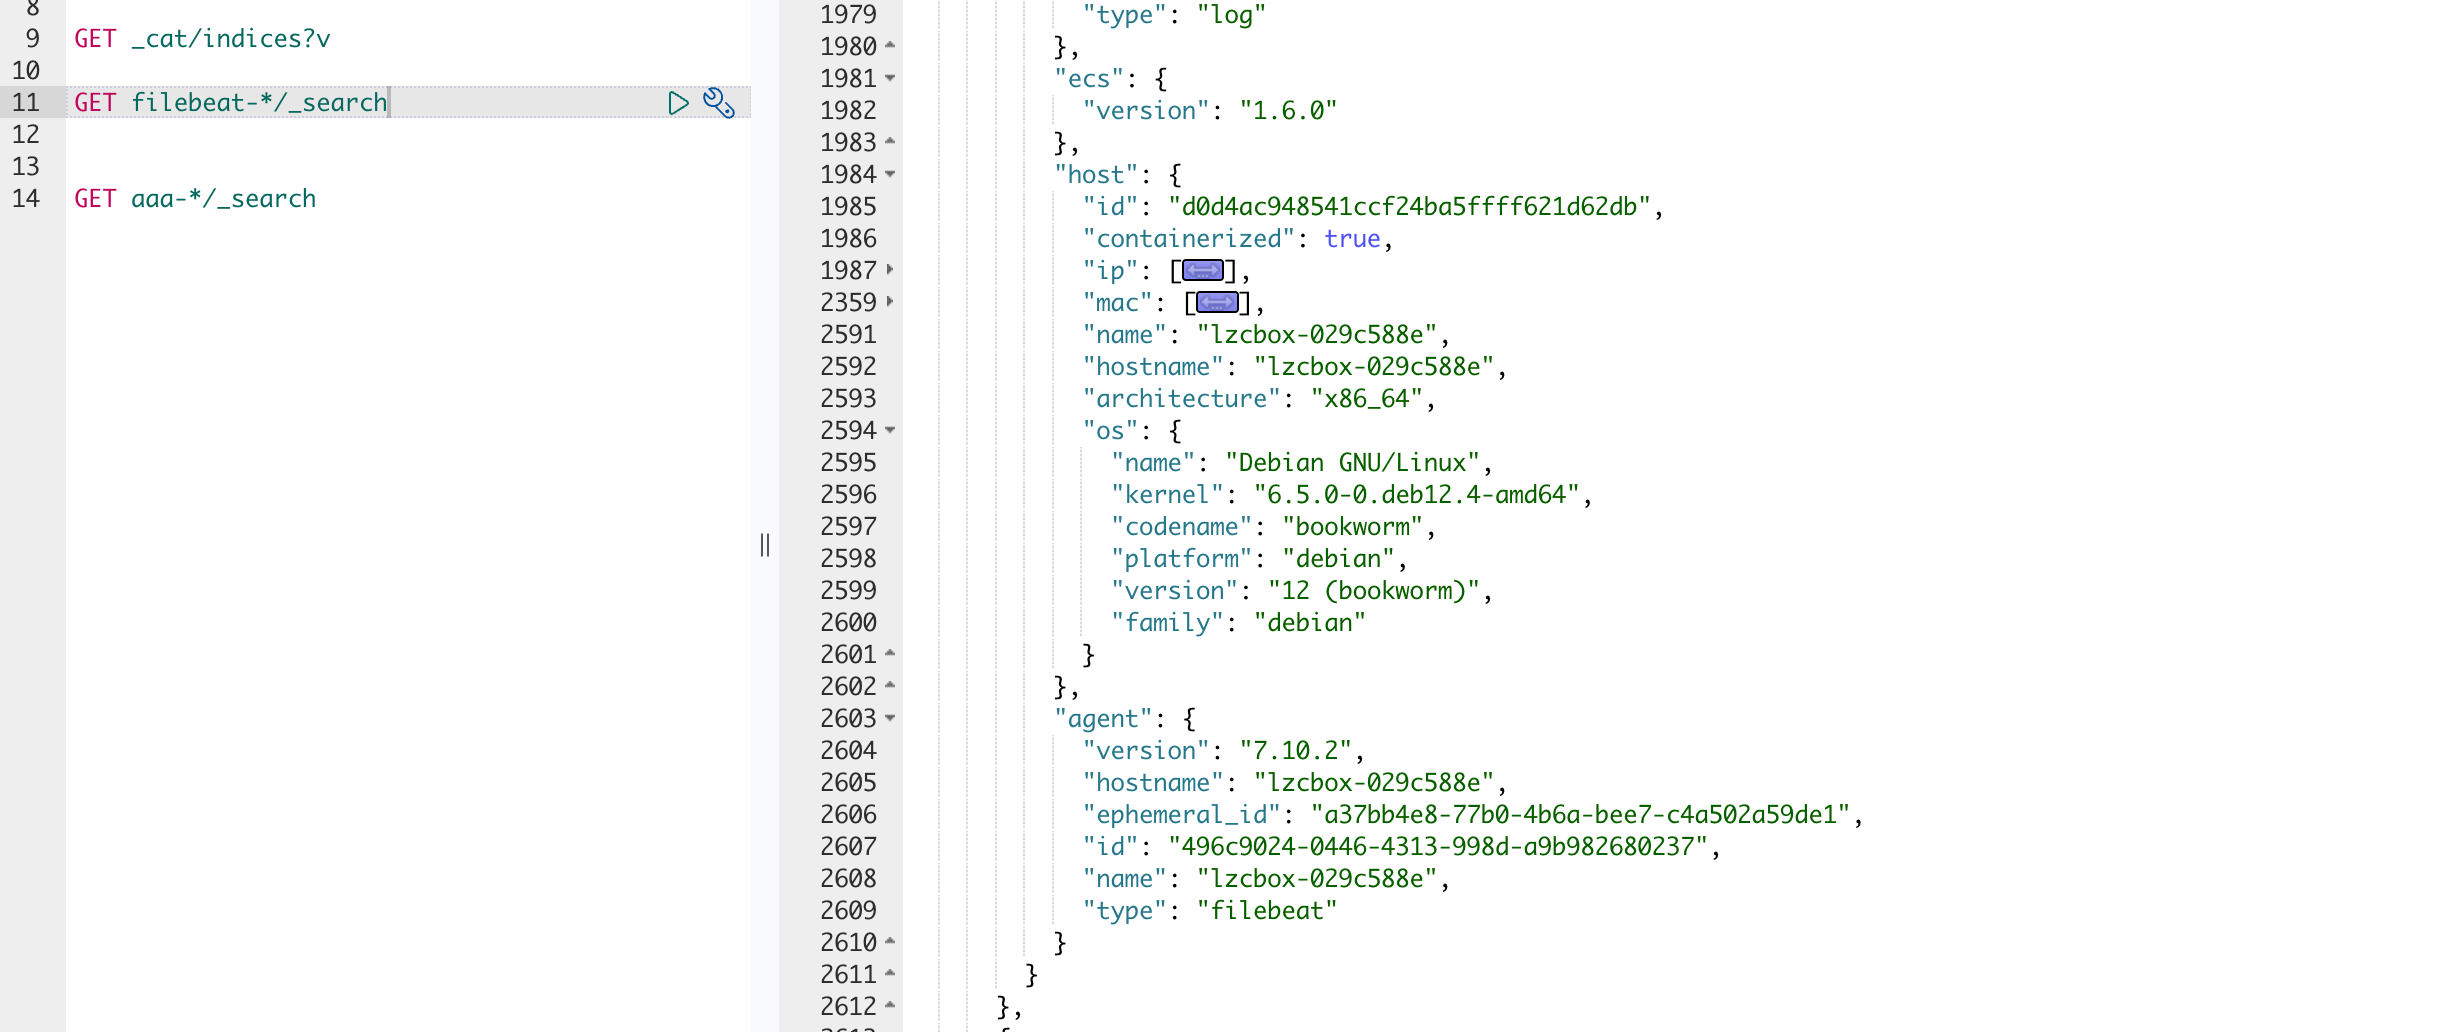
成功响应示例如下:
1 | { |
曾经在 ubuntu 上遇到过只要启动 filebeat 就报错一堆内存的信息:

这个文章给了一个解决办法:
https://infinilabs.cn/blog/2025/ubuntu_run_filebeat/通过以上配置和步骤,您应该能够成功使用Filebeat OSS 7.10.2 版本将日志收集到 Easysearch 中。
用Filebeat OSS 7.10.2将收集日志到Easysearch